
A starter strip is a specially designed strip of asphalt roofing material used as the first layer of shingles on the edge of a roof. Also known as a starter course or starter shingle, this strip is crucial for ensuring the overall integrity of the roofing system and building a strong foundation for the following shingle rows.
Starter strips are typically placed along the roof’s rake and eaves edges.
The Purpose of a Starter Strip
Wind Resistance
The starter strip helps secure the first row of shingles, ensuring they stay in place during strong winds. Without a properly installed starter strip, shingles are more prone to lifting during storms, which can cause significant damage.
Waterproofing
The starter strip acts as a barrier to prevent water from seeping into the roof. By filling the gap between the roof deck and the first row of shingles, it stops water from leaking through the spaces between the shingles.
Proper Shingle Alignment
The starter strip ensures that the first row of shingles is properly aligned. This alignment is crucial for the structural integrity of the roofing system and the overall appearance of the roof.
Aesthetic Continuity
The starter strip provides an even base for the first row of shingles, ensuring a neat and polished appearance. It helps reduce gaps and inconsistencies that could detract from the roof’s overall look.
Types of Starter Strips
Different types of starter strips are designed for specific roofing materials and installation methods. Understanding these options can help you choose the right starter strip for your roof.
1. Pre-Manufactured Starter Strips
Description: Pre-manufactured starter strips are specially designed by roofing manufacturers. These strips are easy to apply and are typically available in rolls or sheets.
Advantages:
- Easy to install.
- Consistent quality and performance.
- Saves time during installation.
Disadvantages:
- Can be more expensive than cutting regular shingles.
Common Uses: Pre-manufactured starter strips are commonly used with asphalt shingles and other popular roofing materials.
2. Cut-Down Shingle Strips
Description: Cut-down shingle strips are made by cutting standard shingles to create a starter strip. This method is often used by roofers who prefer to customize the starter strip on-site.
Advantages:
- Cost-effective.
- Utilizes leftover shingles.
Disadvantages:
- Time-consuming.
- Requires precise cutting to ensure uniformity.
Common Uses: Cut-down shingle strips are often used in custom roofing jobs or when matching a specific shingle profile.
3. Rolled Starter Strips
Description: Rolled starter strips come in long rolls that are unrolled and cut to fit the roof’s edge. These strips are typically made of asphalt-saturated felt or other waterproof materials.
Advantages:
- Quick installation.
- Waterproof material.
Common Uses: Rolled starter strips are often used in commercial roofing or large residential projects where speed and efficiency are important.
Where Does the Starter Strip Go on a Roof?
The placement of the starter strip is crucial to the overall effectiveness of the roofing system. It is typically installed along the eaves and sometimes along the rakes.
Eaves
The eaves are the lower edges of the roof where it meets the exterior walls of the building. This is the area where water runoff is most likely to occur, making the eaves a critical location for the starter strip.
Placement:
- The starter strip should be installed along the full length of the eaves.
- The strip should extend between 1/4 and 3/4 of an inch beyond the edge of the roof. This overhang helps direct water into the gutters and away from the roof.
- The adhesive side of the starter strip should face up to bond with the first row of shingles.
Rakes
The rakes are the sloped edges of the roof that run from the eaves to the ridge. While not always necessary, installing a starter strip along the rakes can provide extra protection and ensure a cleaner finish.
Placement:
- The starter strip should be installed along the entire length of the rakes, starting from the eaves and working toward the ridge.
- Like the eaves, the strip should slightly overhang the edge of the roof.
Step-by-Step Guide to Installing Starter Strips
Materials and Tools Needed
- Starter strips (pre-manufactured or cut from regular shingles)
- Roofing nails
- Hammer or roofing nailer
- Chalk line
- Utility knife
- Measuring tape
- Roofing underlayment
- Drip edge
Installation Steps
1. Prepare the Roof Deck
- Ensure the roof deck is clean, dry, and free of debris.
- Install a drip edge along the eaves and rake edges.
2. Lay the Underlayment
- Spread the roofing underlayment over the roof deck, extending it slightly over the rake edges and eaves.
- Secure the underlayment with roofing nails or staples, following the manufacturer’s instructions.
3. Mark the Layout
- Use a chalk line to mark a straight line along the edge of the eaves and rake edges. This line will guide the placement of the starter strips.
4. Cut the Starter Strips (if necessary)
- If using regular shingles, cut them into starter strips by removing the tabs, leaving a strip with the adhesive side intact.
5. Position the Starter Strips
- Align the starter strips along the marked lines, with the adhesive side facing up and the strips slightly overhanging the drip edge.
- Ensure the strips butt tightly against each other without gaps.
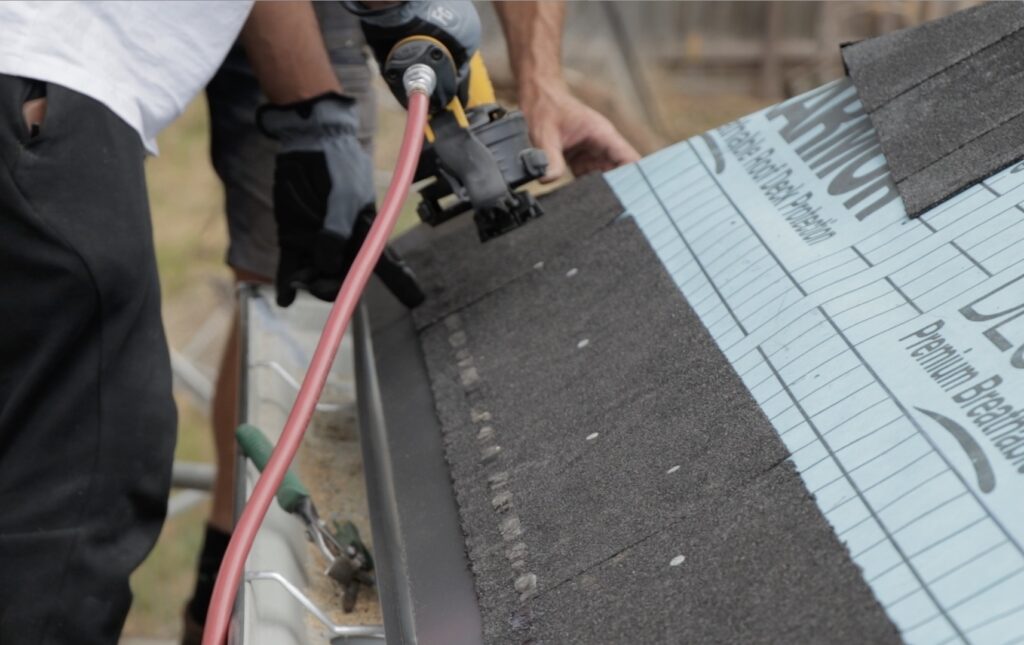
6. Nail the Starter Strips
- Secure the starter strips with roofing nails, placing the nails about 6 inches apart along the strip. Make sure the nails penetrate both the starter strip and the roof deck.
- For added wind resistance, consider using additional adhesive under the starter strips.
7. Overlap the Rake Edges
- When installing starter strips along the rake edges, ensure they overlap the eaves starter strips. This creates a continuous protective barrier around the roof’s perimeter.
8. Check for Alignment
- Double-check the alignment of the starter strips to ensure they are straight and even. Proper alignment helps ensure that the following rows of shingles are correctly positioned.
Benefits of Proper Starter Strip Installation
Enhanced Weather Protection
Starter strips installed correctly create a strong barrier against water intrusion, protecting the roof deck and structure from moisture damage.
Improved Wind Resistance
The adhesive on the starter strips bonds with the first row of shingles, increasing the roof’s resistance to wind uplift and preventing shingle blow-off.
Extended Roof Lifespan
Starter strips provide a solid base for the shingles, distributing weight evenly and reducing stress on the roof deck, which contributes to a longer roof lifespan.
Aesthetic Appeal
A well-installed starter strip creates a clean, straight edge for the shingles, enhancing the roof’s overall appearance and boosting curb appeal.
FAQ
1. What is the main purpose of a starter strip in roofing?
The primary purpose of a starter strip is to provide a secure base for the first row of shingles.
2. Where should the starter strip be installed on a roof?
The starter strip should be installed along the eaves, which are the lower edges of the roof, and sometimes along the rakes, which are the sloped edges. It should slightly overhang the roof’s edge to help direct water into the gutters and prevent water damage.
3. Can I use regular shingles as a starter strip?
Yes, regular shingles can be cut down to create a starter strip. This method is often used by roofers to save costs and utilize leftover materials.
4. Why is it important to align the starter strip correctly?
Proper alignment of the starter strip is crucial because it sets the foundation for the entire roofing system. Incorrect alignment can lead to gaps, improper shingle placement, and potential water leaks, compromising the roof’s structural integrity and appearance.
5. Do I need to install a starter strip on both the eaves and the rakes?
Installing a starter strip on the eaves is essential for water protection. While installing it on the rakes is not always necessary, doing so can provide additional wind resistance and ensure a cleaner finish, contributing to a more secure and aesthetically pleasing roof.